Opening a restaurant involves much more than finding the perfect location or creating a great menu. Behind every successful service is a pos system that keeps orders moving, payments flowing, and staff working efficiently. That’s where a restaurant Point-of-Sale (POS) system setup comes in.
A modern POS does far more than process transactions. It connects your front-of-house team with the kitchen, tracks inventory, manages staff access, records sales, and generates reports that help you make better business decisions. When everything works together through one platform, you spend less time solving operational problems and more time focusing on your customers.
If you’re wondering how to set up a POS system for a new restaurant, this guide walks you through every stage, from choosing the right software and hardware to configuring your restaurant for a smooth opening day.
Why Your Restaurant POS Matters
Customers expect fast service, accurate orders, and flexible payment options. At the same time, restaurant owners need complete visibility into daily operations without relying on multiple disconnected systems.
A modern restaurant POS brings these tasks together in one place. Instead of switching between different tools, your staff can manage orders, payments, inventory, and reporting through a single platform.
A well-configured POS helps you:
- Speed up order taking and payment processing.
- Reduce communication errors between the front-of-house and the kitchen.
- Track inventory automatically as items are sold.
- Monitor sales, staff performance, and business trends in real time.
- Scale operations more easily as your restaurant grows.
Simply put, your POS becomes the operational backbone of your restaurant, helping every team work more efficiently.
Step 1: Understand Your Restaurant’s Operational Needs
Before you compare POS providers, take a step back and evaluate how your restaurant will operate. Every business has different requirements, and selecting a system without understanding your workflow often leads to unnecessary features or, worse, missing ones.
Start by asking a few practical questions:
- Will you offer dine-in service, takeaway, delivery, or all three?
- Do you need table management and reservations?
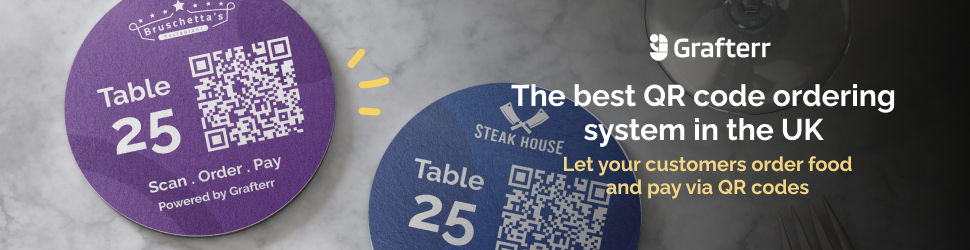
- Will customers place orders using QR codes?
- How many POS terminals will your staff need?
- Are you planning to expand to multiple locations in the future?
Your answers will help narrow down the features you actually need.
For example, a coffee shop may only require quick order processing and simple inventory management. A full-service restaurant, however, benefits from advanced features such as table mapping, Kitchen Display Systems (KDS), split billing, and reservation management.
Thinking about your future is equally important. If you plan to grow your business, choose a cloud-based POS that can easily support additional locations without requiring a complete system upgrade later.
Taking the time to define your operational needs now will save both money and frustration as your business expands.
Step 2: Choose the Right Restaurant POS Software
Once you understand your operational needs, it’s time to choose the software that will power your restaurant. Since your POS will become the centre of daily operations, selecting the right platform is one of the most important decisions you’ll make.
Rather than focusing only on price, look for software that simplifies everyday tasks while giving you room to grow. An intuitive interface allows staff to learn the system quickly, process orders faster, and reduce mistakes during busy service hours.
When comparing restaurant POS systems, prioritise features such as:
- Menu management: Update prices, add new dishes, create combo meals, and manage modifiers with just a few clicks.
- Kitchen Display System (KDS): Send orders directly to the kitchen to reduce printing costs and improve communication.
- Inventory management: Automatically deduct ingredients as menu items are sold, helping you reduce food waste and avoid stock shortages.
- Reporting and analytics: Monitor sales, peak business hours, top-selling dishes, and staff performance through real-time dashboards.
- Multi-channel ordering: Manage dine-in, takeaway, online, and delivery orders from a single platform.
As your restaurant grows, these features will become even more valuable. Choosing software that can adapt to your changing needs means you won’t have to replace your POS every time your business expands.
Step 3: Select the Right Hardware
After choosing your software, you’ll need the right hardware to support it. While the exact setup depends on your restaurant type, investing in reliable equipment from the beginning will help you avoid technical issues during service.
Most restaurants require a few essential devices to keep operations running smoothly.
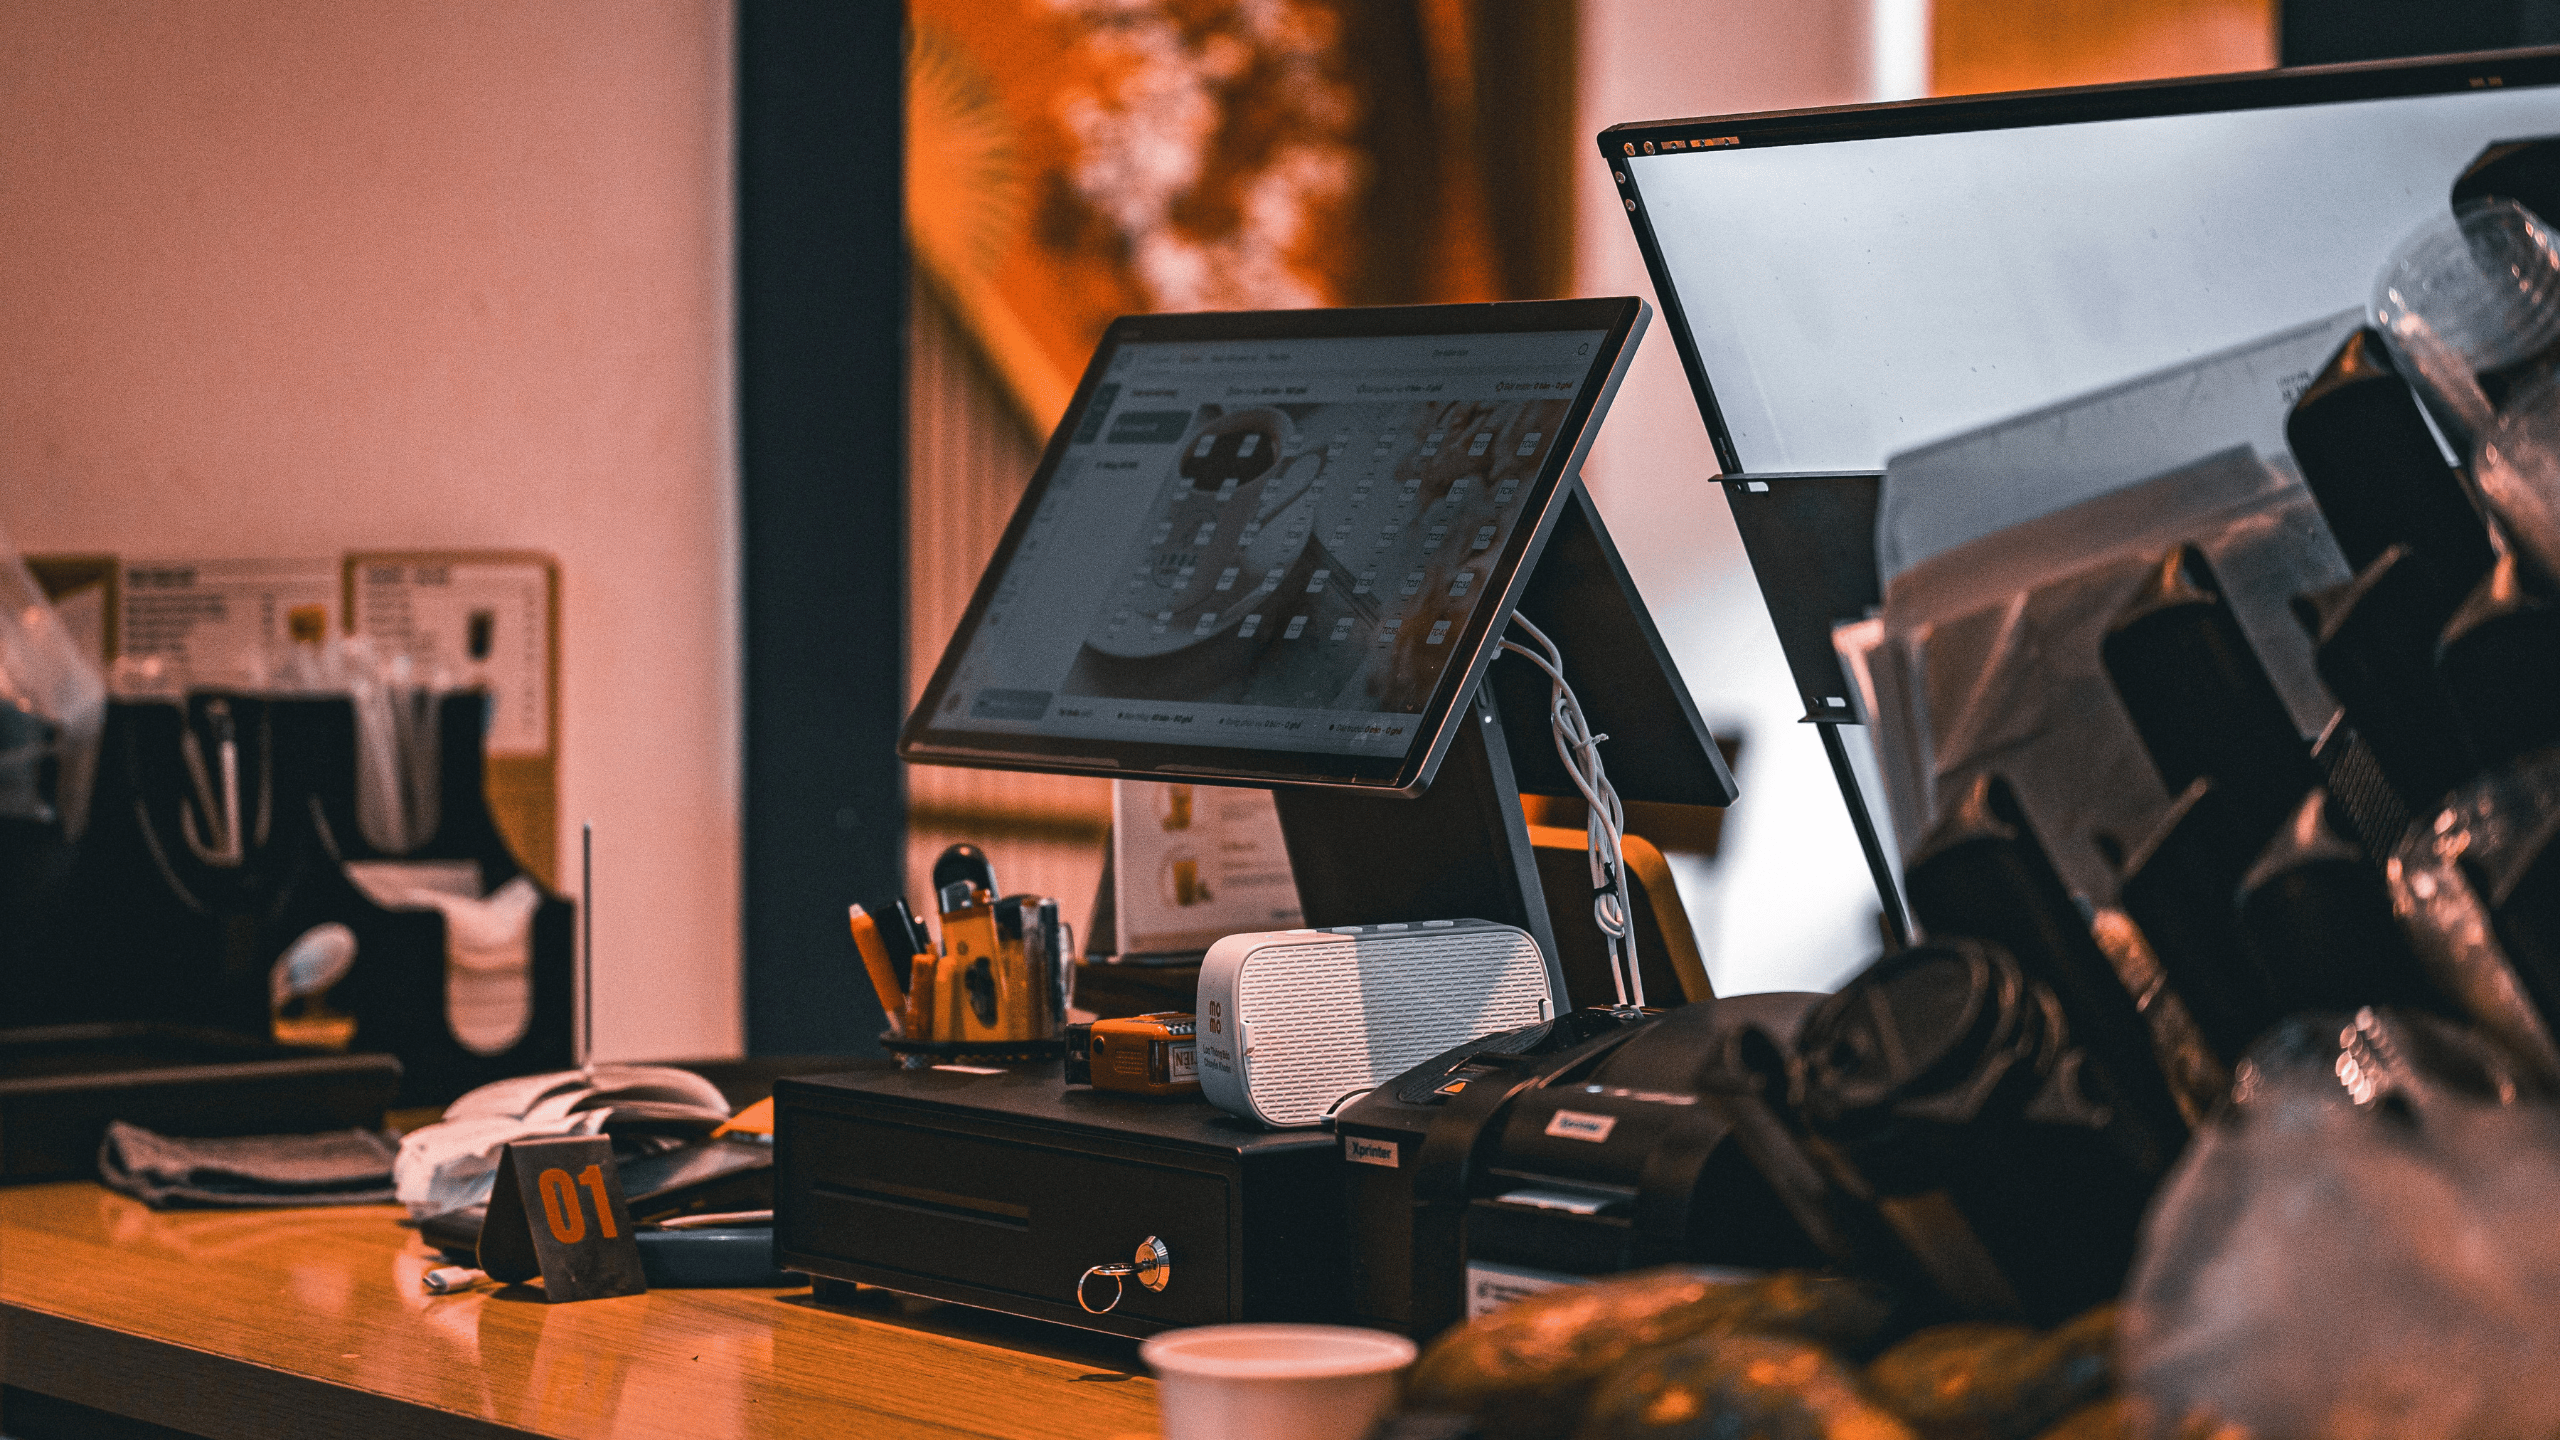
Core POS hardware includes:
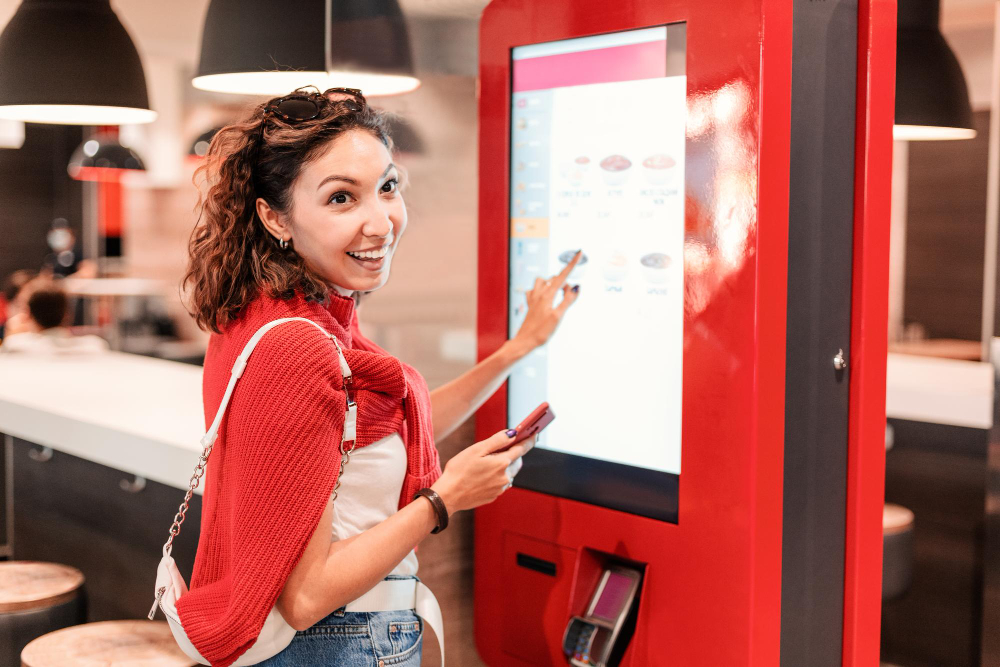
- A touchscreen POS terminal or tablet
- A secure card payment terminal
- A receipt printer
- A cash drawer (if you accept cash)
- A stable internet connection
Depending on your service model, you may also benefit from additional hardware such as handheld ordering devices for servers or a Kitchen Display System (KDS) that sends orders directly to the kitchen.
Choosing hardware that integrates seamlessly with your POS software ensures faster service, fewer disruptions, and a better experience for both staff and customers.
Step 4: Configure and Test Your POS System
Installing your POS is only half the job. Before opening your restaurant, you need to configure the system so it reflects the way your business operates.
The following steps will help you prepare your POS for everyday service.
➡️Build Your Digital Menu
Your digital menu is one of the first things your staff will interact with during every shift, so it’s worth taking the time to organise it properly. A clean menu structure helps employees locate items quickly, process orders accurately, and serve customers without unnecessary delays.
As you build your menu, make sure you configure:
- Food and beverage categories
- Item prices and tax settings
- Modifiers for extras, substitutions, or cooking preferences
- Combo meals and meal deals
- Availability settings for seasonal or limited-time items
Once you’ve finished setting everything up, place a few test orders to verify that prices, modifiers, and taxes are working exactly as expected.
➡️Set Up Payments and Taxes
Next, configure every payment method your restaurant plans to accept. Today’s customers expect flexibility, so your POS should support cash, debit, and credit cards, contactless payments, and digital wallets without slowing down the checkout process.
Before you go live, review every financial setting carefully. Check that tax rates are accurate, service charges are applied correctly, promotional discounts work as intended, and tipping options appear during checkout.
Finally, process a few sample transactions using different payment methods. This simple test helps you identify configuration issues before they affect real customers and ensures your team can handle payments confidently from day one.
➡️Create Staff Roles and Permissions
Once your menu and payment settings are ready, the next step is to create user accounts for your team. Giving every employee their own login not only improves security but also makes it easier to track transactions and monitor performance.
Rather than giving everyone full access, assign permissions based on individual responsibilities. For example:
- Cashiers can process orders and accept payments.
- Servers can manage tables, modify orders, and split bills.
- Kitchen staff only need to view and update incoming orders.
- Managers should have access to reports, refunds, inventory, and menu settings.
Limiting access reduces accidental changes to important business data while ensuring each team member has the tools they need to perform their role efficiently.
➡️Connect Your Kitchen and Inventory
With your staff accounts in place, it’s time to connect your POS to the rest of your restaurant operations. A fully integrated system ensures information flows automatically from the front of house to the kitchen and inventory.
If you’re using a Kitchen Display System (KDS), configure it so orders are sent directly to the appropriate preparation station. Instead of relying on handwritten notes or printed tickets, chefs receive clear digital orders the moment they’re placed. This speeds up communication, reduces mistakes, and helps the kitchen manage peak-hour demand more efficiently.
At the same time, enable inventory tracking by linking each menu item to its ingredients. Every completed sale automatically updates stock levels, giving you real-time visibility into your inventory.
For example, selling a cheeseburger can automatically deduct:
- One burger bun
- One beef patty
- One cheese slice
- Lettuce and tomato
- Condiments
This automation helps prevent stock shortages, reduces food waste, and makes purchasing decisions much easier.
➡️Test Every Workflow Before Opening
Before welcoming your first customers, test your POS system from start to finish. Even a small configuration error can slow down the service or create confusion during busy hours.
Instead of checking individual features in isolation, recreate the experience of a normal service day. Place dine-in and takeaway orders, process different payment methods, split bills, apply discounts, issue refunds, and verify that orders reach the kitchen correctly.
During testing, make sure you confirm that:
- Orders appear correctly on the POS and kitchen display.
- Payments are processed successfully.
- Discounts and taxes are calculated accurately.
- Inventory updates after each sale.
- Reports record every transaction correctly.
Running these checks before launch gives you time to fix any issues, ensuring everything works exactly as expected when customers arrive.
➡️Train Your Staff
Even the most advanced POS system delivers value only when your team knows how to use it confidently. Once testing is complete, dedicate time to hands-on training before opening day.
Rather than simply explaining features, encourage employees to practice real service scenarios. Let them take orders, modify menu items, split bills, process different payment methods, and handle refunds until these tasks become second nature.
You should also simulate busy service periods so staff can become familiar with the system under pressure. This practical approach builds confidence, improves speed, and helps employees respond calmly when unexpected situations arise.
A well-trained team makes fewer mistakes, serves customers faster, and creates a much smoother dining experience from the very first day.

Final Thoughts
Learning how to set up a POS system for a new restaurant involves much more than installing software. It requires careful planning, selecting the right hardware, configuring your menu, integrating your kitchen, training your staff, and thoroughly testing every workflow before opening day.
While the setup process takes time, the effort pays off in the long run. A properly configured POS streamlines operations, improves order accuracy, reduces manual work, and gives you valuable insights into your restaurant’s performance.
Whether you’re opening a neighbourhood café, a full-service restaurant, or a growing multi-location business, investing in the right POS setup from the beginning will help you deliver better customer experiences and build a stronger foundation for long-term success. Choosing a comprehensive solution like Grafterr POS can further simplify the process by bringing together order management, payments, inventory tracking, kitchen operations, and reporting in one easy-to-manage platform.